
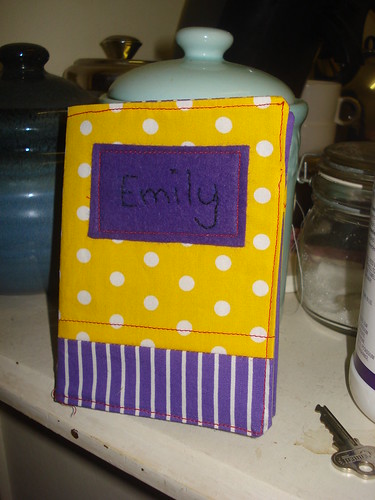
As I said before, two of my very good friends are leaving for a 3 month trip to Europe next weekend. I wanted to make them a little going away present that would be helpfull while they're away, and here's what I came up with!
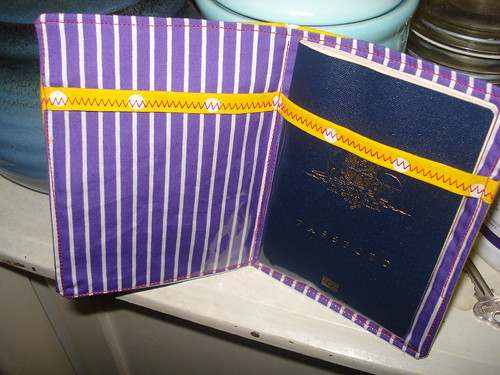
I got the adorable tutorial from here. It was super easy to follow, and already for an Australian sized passport.
I added a little (shakily) embroided panel on the front with the girls names for a little bit of extra personalisation and for my first bit of proper embroidery by myself. I think it looks good!
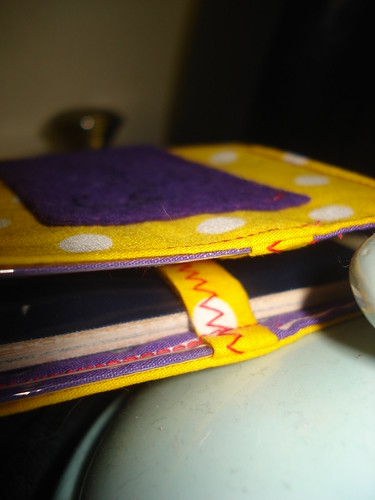
The top stitching is a little special because this was the first time that I had done any sewing with clear vinyl and I don't have a teflon foot or anything fancy like that. After I'd done a few centimeters I remember a tip that I read about putting a bit of tissue paper over the top of the vinyl when sewing it. And it worked a treat! The only problem being that I only had decorated paper, that wasn't exactly see through. I know what to do in the future though.
Well, hope you like. I know that I'm super pleased with this one. I'm going to be making the second one tomorrow night with the same fabric combo, but in reverse.
- Jemma
1 comment:
First apologies for the delayed comments. I've written this three times and my browser just doesn't want to play nice!
I really need a conversion chart like yours. Most of my recipes are in Fahrenheit, so I run into the office and type "425F in C" into google then sprint back to the kitchen. I never make cooking easy for myself!
And I think your list is a fantastic idea. I may talk Craig into doing something similar this year, as we need a kettle and a puppy too!
I'm terrified to join I'm wearing it Wednesday, because I slum it at home most days. I'll be back though to see what you're wearing and all of the great things you make.
Thanks for joining in!
Post a Comment